Best AI Search Engines in 2026 (Compared)
The Best AI Search Engine in 2026 (Compared & Tested) The best AI search engine delivers synthesized, cited…
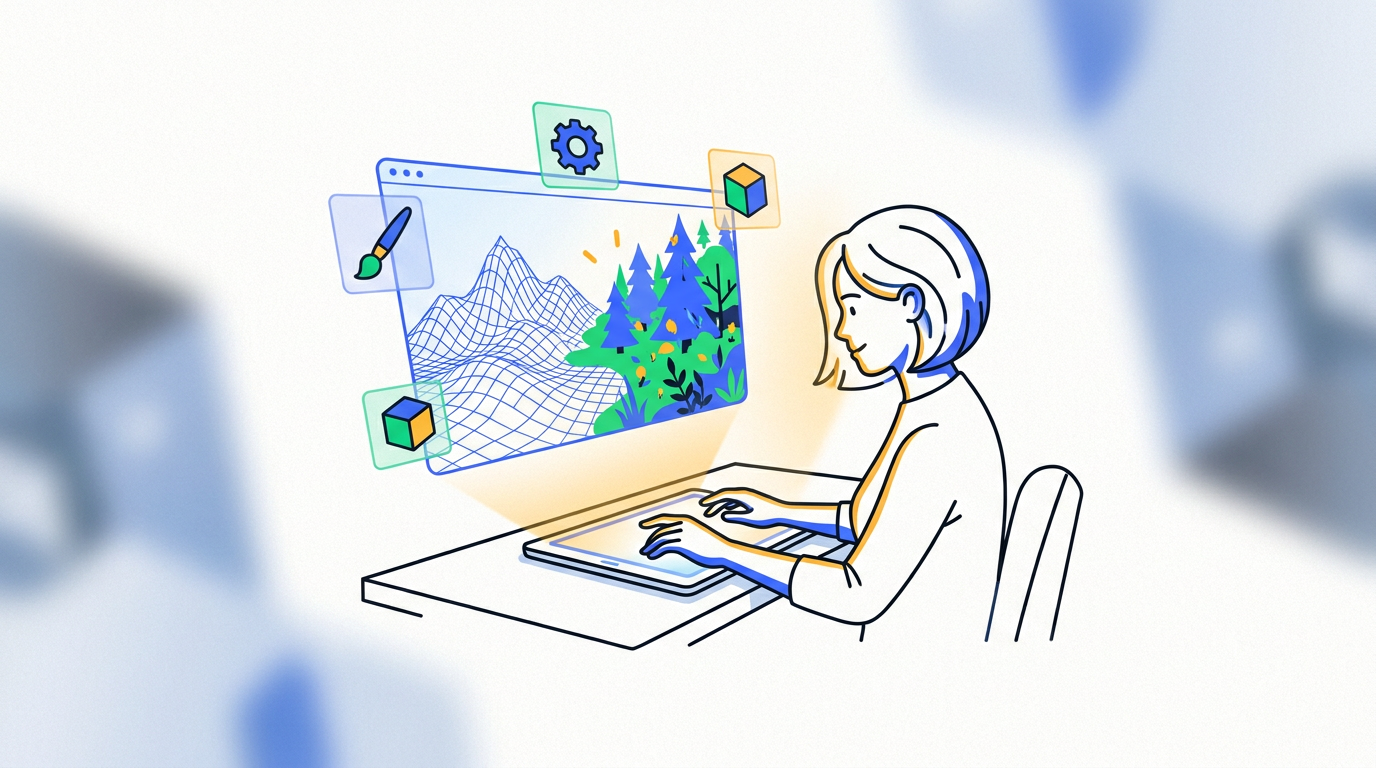
Yes, AI can generate a new image from an existing one using a technique called image-to-image (or img2img). This lets you guide the AI with a visual starting point, not just a text prompt. For most people, Midjourney is the best and easiest tool to start turning your photos into AI art.
Most people think [AI art generators] start with a blank screen and a text box. You type “a cat wearing a spacesuit,” and a masterpiece appears. That’s part of the story, but the real magic often begins when you give the AI a picture to work with. Using an AI image generator from image completely changes the game.
Instead of just telling the AI what to create, you’re showing it. You provide a starting photo or sketch, then use a text prompt to tell the AI how to modify or restyle it. This technique, called image-to-image (img2img for short), gives you far more control and leads to more specific results. It’s how you can turn a photo into AI art and unlock a new level of creativity.
Think of it this way: text-to-image is like describing a painting to an artist over the phone. Image-to-image is like handing that artist a sketch and saying, “Use this as your guide.” You’re providing a visual foundation—the composition, the colors, the subject—for the AI to work from.
This reference image acts as a powerful constraint. The AI doesn’t have to guess the layout or the subject’s pose; it already knows because you showed it. Your job is to tell it what to change. Do you want to change the style, the setting, or the materials? That’s what your text prompt is for.
This combination of a reference image and a prompt is the core of image to image AI. It’s less about creating from scratch and more about creative transformation.
Here are the best tools that support image-to-image generation right now:
| Tool | Who It’s For | Our Take |
|---|---|---|
| Midjourney | Everyone (Beginners to Pros) | The best all-around pick. It’s the easiest to use and produces the highest quality, most artistic results. Its image-to-image feature is incredibly powerful and intuitive. The only downside is it runs on Discord, which can be a little quirky at first. |
| [Stable Diffusion] | Tinkerers & Power Users | The most powerful and customizable option, but also the most complex. You can run it on your own computer and get access to deep settings like ControlNet for precise control over poses and composition. It’s free, but has a steep learning curve. |
| Leonardo.Ai | Hobbyists & Gamers | A great, web-based alternative that feels like a more user-friendly version of Stable Diffusion. It has a generous free tier, making it one of the best [Free AI Image Generators], and a clean interface. The results aren’t always as polished as Midjourney’s, but it’s an excellent place to experiment. |
| DALL-E 3 (in ChatGPT Plus) | Casual Users | While primarily a text-to-image tool, you can upload an image and ask it to create something inspired by it. It’s less of a direct img2img tool and more conversational, but it can be useful for simple style transfer tasks. It lacks the fine-tuned controls of the others. |
Our honest opinion: Start with Midjourney. While it requires a subscription and uses Discord, the quality of its output and the simplicity of its process make it the clear winner for most people who want to turn a photo into AI art.
Ready to try it? The process is surprisingly straightforward. We’ll use Midjourney for this example, but the basic principles apply to most tools.
Step 1: Get Your Reference Image
First, find the photo you want to transform. This is your reference image. For best results, choose a photo that is clear, well-lit, and has a distinct subject. A blurry, dark photo will give the AI a poor starting point and lead to muddy results.
Step 2: Upload Your Image
In Midjourney (which runs on the chat app Discord), you’ll start by uploading your image.
+ button next to the message box.Upload a File and choose your image.Once it’s uploaded, click on the image, then right-click (or long-press on mobile) and select Copy Image Address. This URL is how you’ll tell Midjourney to use your photo.
Step 3: Write Your Prompt
Now, you’ll use the /imagine command. Start by pasting the image URL you just copied. After the URL, add a space, and then write your text prompt. This is where you describe the transformation you want. Don’t describe what’s in the photo; describe the change.
/imagine [image URL] a photo of a woman smiling (This is redundant)/imagine [image URL] character design sheet, cartoon animation style, bright colors (This tells the AI what to do with the photo)Step 4: Adjust the Image Weight (Optional but Important)
Midjourney has a parameter called “Image Weight” (--iw) that controls how much the AI should respect your original image versus your text prompt. It ranges from 0 to 2.
--iw 2: The AI will stick very closely to your reference image. Best for changing style while keeping the composition identical.--iw 1: A good balance between the image and the prompt (this is the default).--iw 0.5: The AI will take more creative liberty and use your image more as loose inspiration.A complete prompt would look like this:
/imagine prompt: [image URL] cinematic portrait, dramatic lighting, 1980s film photography --iw 1.8
Step 5: Generate and Refine
Hit Enter and watch the AI work. It will generate four variations based on your image and prompt. From there, you can choose one for upscaling (increasing its resolution) or create more variations of the one you like best.
So, what is this actually useful for? It’s not just a toy for making your dog look like a Roman statue. This technology has powerful practical applications.
Style Transfer: This is the most common use. You can take any photo and apply the style of a famous artist, a specific art movement, or a medium. Want to see your house as a watercolor painting or your selfie in a comic book style? This is how you do it.
Creating Variations: This is huge for designers and marketers. Upload a product shot and ask for variations in different settings, lighting conditions, or colors. You can generate dozens of creative concepts for an ad campaign in minutes, all based on a single source image.
Restoring and Enhancing Photos: Image-to-image isn’t just about changing things; it’s also about fixing them. You can use it for upscaling old, low-resolution photos to make them sharp and clear. With a clever prompt, you can even “restore” color to black-and-white images or repair minor damage.
Inpainting and Outpainting: These are more advanced sub-techniques. Inpainting allows you to select a specific part of an image and regenerate only that area, which is perfect for removing unwanted objects. Outpainting does the opposite: it expands the canvas of your image, letting the AI imagine what’s just outside the frame.
Precise Compositional Control (ControlNet): For advanced users, tools like Stable Diffusion offer ControlNet. This is a powerful form of img2img where you provide a secondary image (like a stick figure pose or a depth map) to control the final composition with incredible precision.
Getting great results from an AI image generator from image involves a little bit of art and science. Here are a few tips to avoid frustration and improve your output.
Start with a good reference image. Garbage in, garbage out. The AI can’t work miracles with a tiny, blurry, poorly-lit photo. A clean, high-contrast image with a clear subject will always yield better results.
Master the “Denoising Strength” setting. In tools like Stable Diffusion and Leonardo, this is the most important slider. It’s similar to Midjourney’s “Image Weight.” Denoising strength tells the AI how much to change the original image.
Write a better prompt. Your prompt should work with your image. If your image is a portrait of a person, your prompt shouldn’t say “a person.” It should say “sci-fi armor, glowing neon, futuristic city background.” Be specific about the transformation you want to see.
Yes, absolutely. This process is called “image-to-image” or “img2img.” You provide the AI with a starting photo (a reference image) and a text prompt describing how you want to change it. The AI then generates a new image that blends the content of your photo with the style or instructions in your prompt.
Image-to-image AI is a technique where an artificial intelligence model creates a new picture based on two inputs: a source image and a text prompt. Instead of starting from pure randomness, the AI uses the source image as a guide for composition, shapes, and colors, and then modifies it according to the text instructions.
The easiest way is to use a tool like Midjourney or Leonardo.Ai. The general process is to upload your photo to the AI tool, write a text prompt describing the artistic style you want (e.g., “impressionist oil painting” or “claymation style”), adjust the settings to control the transformation, and generate the image.

Part of the Thinker's Automation Labs content team. Researches with the SEO Blog Research Agent, drafts the piece, and routes it through review before publishing. Every claim is fact-checked against primary sources.
The Best AI Search Engine in 2026 (Compared & Tested) The best AI search engine delivers synthesized, cited…
Microsoft Designer is the best overall free AI image generator, offering a generous 100 daily images powered by…
The best AI video generator for most people is Runway, offering a powerful and accessible suite of creative…